Simple Smoky Romano Beans

P1110264.jpg

This dish is so easy to make that it almost doesn't even warrant a written recipe. That said, it's nice to have a reference for how to prep ingredients like these Romano beans, a less-common variety of snap beans. If you can't find fresh Romano beans, you can sub in green beans; shorten the blanching time by a couple of minutes so they don't get overcooked. See notes below for Romano bean prep.

Yield: 4 (serving size: about 1 cup)
Author:

Simple Smoky Romano Beans

prep time: 5 Mcook time: 13 Mtotal time: 18 M
Oh yeah—this is the type of easy veggie dish I want (no, demand!) on repeat all summer long. It goes with anything and darn near steals the show despite its simplicity. It's quick to make, holds up well as leftovers, and seems to one-up regular green beans because of the meatier texture of Romano beans. (Of course, regular green beans will work beautifully here if you can't find Romano beans.) One simple spice addition gives it that type of can't-put-your-finger-on-it flavor oomph that makes a dish truly memorable.

ingredients:

  • 1 1/4 lb. fresh Romano beans (see notes below)
  • 1 1/2 slices thick-cut bacon (I know, it's an odd amount. But 2 slices were too many, and 1 slice wasn't enough.)
  • 1/4 to 3/8 tsp. ground coriander
  • 1/4 tsp. kosher salt
  • 1/4 tsp. freshly ground black pepper

instructions:

How to cook Simple Smoky Romano Beans

  1. Snap off stem ends of beans, pulling and discarding any strings. Snap beans in half or into thirds, and leave smaller beans whole. 
  2. Bring a large Dutch oven full of water to a boil. Add beans; boil until crisp-tender, 5 to 7 minutes. Drain and plunge beans into ice water to stop the cooking (or rinse under cold tap water). Drain well.
  3. Heat a large skillet over medium-high heat. Cut bacon crosswise into 1/2-inch strips. Add bacon to pan; cook until crisp, stirring occasionally, about 4 minutes. Remove bacon from pan with a slotted spoon, reserving drippings in pan. Add coriander to drippings; cook 15 seconds, stirring constantly. Add beans to pan; cook until thoroughly heated and lightly seared in spots, tossing frequently, about 4 minutes. Stir in salt and pepper. Sprinkle with bacon.

NOTES:

Calories 114; Fat 4g (sat 2g); Protein 3g; Carb 14g; Fiber 4g; Sugars 2g (added sugars 1g); Sodium 232mg
Created using The Recipes Generator
P1110252.jpg

Shopping for and Preparing Romano Beans

When I was a kid, every grocery store in Mississippi carried Romano beans—except they were labeled, and we called them, pole beans. These broad, flat snap beans are in the same family as green beans and have a similar flavor, though a little bit sweeter, and a meatier, firmer texture. Nowadays, I don’t see them in regular grocery stores but do find them at farmers’ markets and farm stands. I have to say, they are absolutely worth seeking out for that great flavor and irresistible texture.

We’re all pretty used to stringless string beans, so prepping these guys will provide a little nostalgia for those of you who remember pulling strings. (I did find some Romano beans at the farmers’ market a couple of weeks ago that were stringless, but most of the ones I’ve found this summer have strings.) Hold a pod, snap off the stem end, and pull down to remove the string. There might be strings on both sides of the bean, so snapping the bean in half or thirds will give you another shot or two at removing all strings. Once they’re prepped, you’ll want to blanch them for a few minutes in boiling water before finishing in the skillet for this recipe.

They’re also amazing grilled, so give that a try. Prep as explained above (including blanching), drain, and toss with oil before placing over hot coals for a minute or two on each side.

Lady Pea and Tomato Salad

P1110285.jpeg

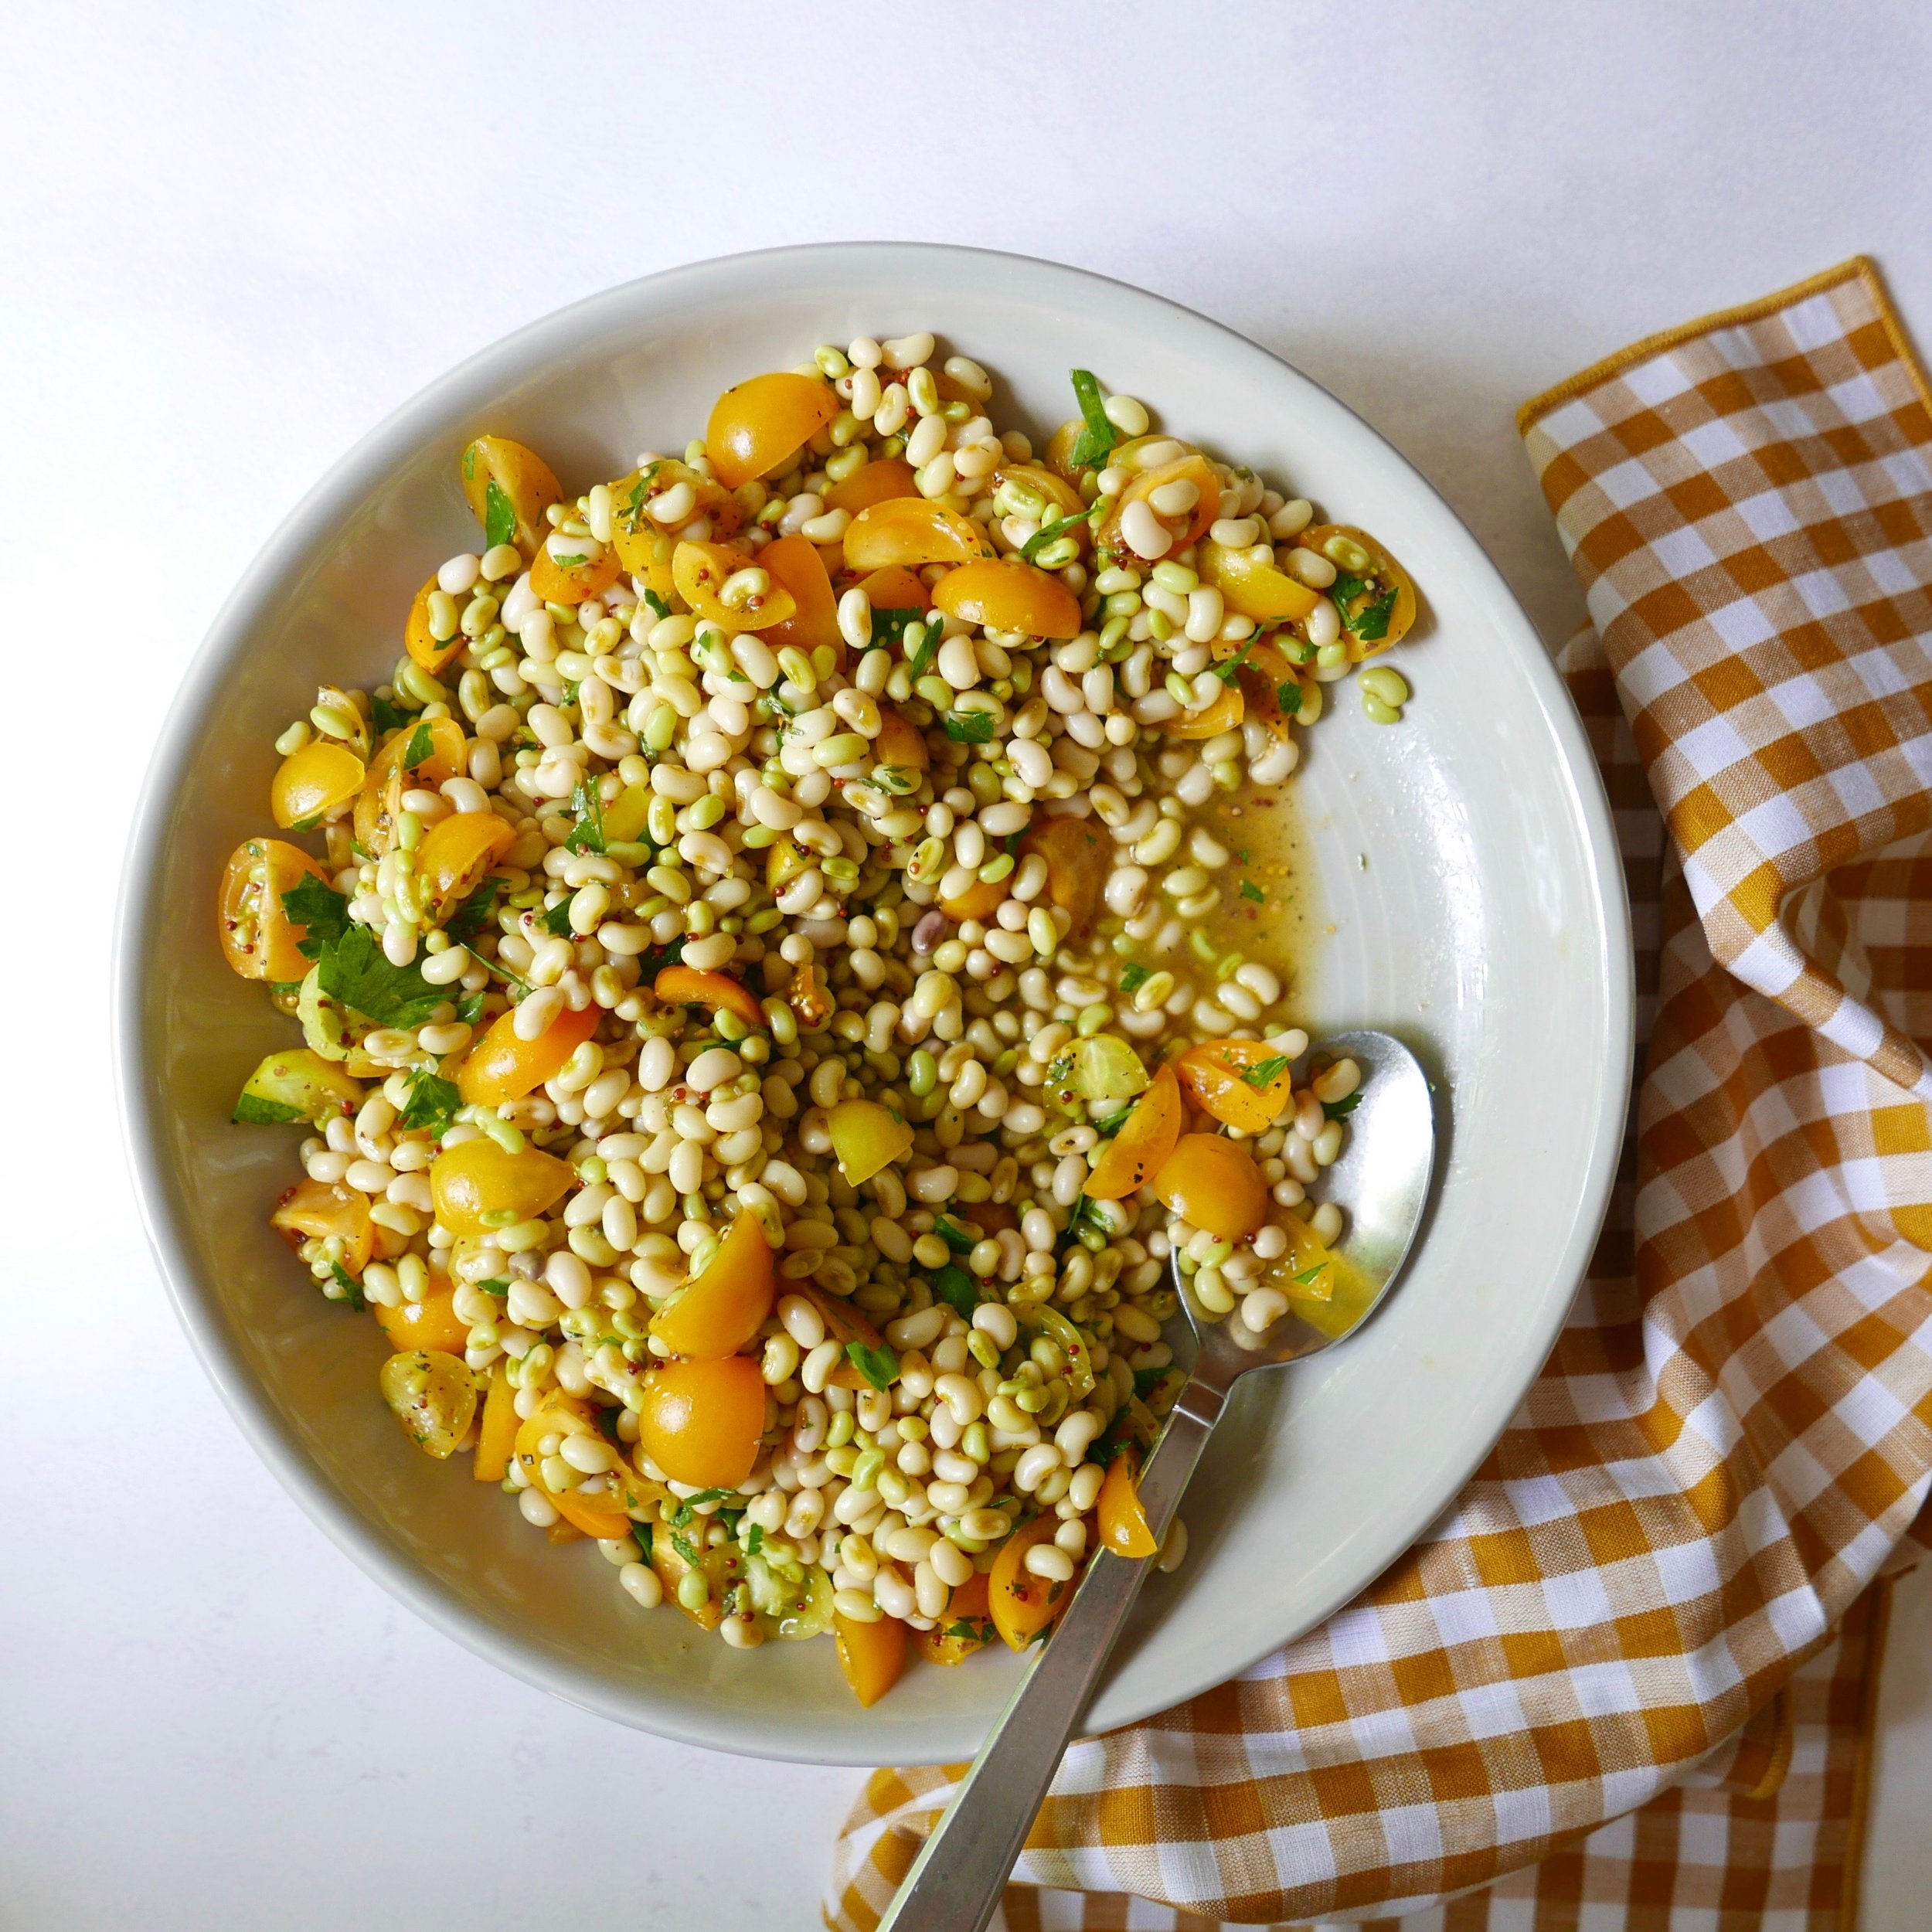
One of my favorite things about summer is that fresh Southern field peas are easy to find, at least around Birmingham and other places in the South. One particular type of field pea—lady peas—are probably my all-time favorite summer ingredient, and I love to cook up a pot to serve warm as a side—or turn them into a lovely salad as I’ve done here. It’s a versatile side, full of fresh summer flavor. It goes on repeat around here all throughout the season. Be sure to scroll below for more info on lady peas.

Yield: 6 (serving size: about 1 scant cup)
Author: Ann Taylor Pittman

Lady Pea and Tomato Salad

prep time: 15 Mcook time: 20 Mtotal time: 35 M
This is one of my all-time favorite summer sides. Why? Because it goes with anything (burgers, steaks, grilled fish, seared scallops), because I can make it ahead and serve it at room temperature, and because it just tastes so good--clean, simple, wonderful flavors. See below for more info on lady peas. If you can't find them, you can sub fresh lima beans.

ingredients:

  • 1 lb. fresh shelled lady peas (see note below)
  • 4 cups water
  • 2 bay leaves
  • 3 thyme sprigs
  • 2 cups quartered cherry tomatoes (I used yellow ones)
  • 3/4 tsp. kosher salt, divided
  • 1/2 tsp. freshly ground black pepper, divided
  • 2 Tbsp. extra-virgin olive oil
  • 1 Tbsp. red wine vinegar
  • 1 Tbsp. whole-grain Dijon mustard
  • 2 tsp. chopped fresh thyme

instructions:

How to cook Lady Pea and Tomato Salad

  1. Combine peas, water, bay leaves, and thyme sprigs in a large saucepan. Bring to a boil over high heat. Reduce heat, and simmer until peas reach desired degree of tenderness, 20 to 30 minutes. Drain peas and rinse with cold water. Discard bay leaves and thyme sprigs.
  2. Meanwhile, combine tomatoes, 1/2 teaspoon salt, and 1/4 teaspoon pepper; let stand 20 minutes while peas cook.
  3. Combine remaining 1/4 teaspoon salt, remaining 1/4 teaspoon pepper, oil, vinegar, mustard, and chopped thyme in a small jar; shake well until emulsified. 
  4. Combine peas, tomatoes and all their juices, and dressing in a large bowl; toss well to combine. Serve chilled or at room temperature. 

NOTES:

Calories 126; Fat 5g (sat1 g); Protein5 g; Carb 15g; Fiber 5g; Sugars 4g (added sugars 0g); Sodium 156mg
Created using The Recipes Generator

About Lady Peas

Lady peas are a type of Southern field pea with a clean flavor and less-starchy texture than other varieties, such as crowder peas or pink-eye peas/purple hull peas. They have a delicate flavor and wonderful creamy texture that is just something special. If I’m cooking up a pot to enjoy as a warm side dish, I’ll first sauté onions, then add the peas, bay leaves, thyme sprigs, and chicken stock to cover. Once the peas reach the level of tenderness I like, I’ll take them off the stove and just let them sit for a bit. I find that this step (letting them rest) produces amazing results—the creamiest texture throughout. For this salad, though, I like to keep the texture a teensy bit firmer, so I skip that step. Here’s what shelled lady peas look like:

P1110278.jpeg

Aren’t they pretty? Well, I think they are. I can usually find them easily from June till late July at farmers markets and farm stands. Here’s a little more about lady peas from the good folks at Southern Living, if you care to learn more about them. If I can ever find them still in their pods (surprisingly hard to find), I snatch them up—because shelling peas is one of my favorite things to do.

You can turn this salad into a main by adding some protein—some grilled chicken or shrimp, sliced steak, or my favorite, seared scallops:

P1110308.jpeg

Marinated Zucchini Slaw

P1110260.jpeg

Have a glut of zucchini? Or just love it? Or on the lookout for a killer make-ahead side dish that everyone will want the recipe for? Look no further—Marinated Zucchini Slaw is here!

Yield: 4 (serving size: about 1 cup)
Author: Ann Taylor Pittman

Marinated Zucchini Slaw

prep time: 37 Mcook time: total time: 37 M
In the summer, when zucchini is sweetest and most abundant, I'm always looking for new ways to use it. That's how this make-ahead slaw came into being. The flavor profile leans Greek-ish, with oregano, lemon juice, olive oil, and feta, and the texture is just fantastic—crunchy, but more chewy-crunchy than crunchy-crunchy. Important first step: I salt the zucchini to draw out a lot of its moisture. That way, you won't end up with watery slaw, no matter how far ahead you make it. Trust me: I made a double batch and ate the leftovers for three days. Check out my delicious leftover makeover idea below!

ingredients:

  • 4 cups matchstick-cut zucchini (from about 1 1/2 lb. zucchini)--see notes below
  • 1 tsp. kosher salt
  • 1 cup matchstick-cut carrots
  • 1/2 cup chopped green onions
  • 1 Tbsp. finely chopped fresh oregano
  • 2 Tbsp. extra-virgin olive oil
  • 2 Tbsp. fresh lemon juice
  • 1/2 tsp. freshly ground black pepper
  • 2 oz. feta cheese, crumbled

instructions:

How to cook Marinated Zucchini Slaw

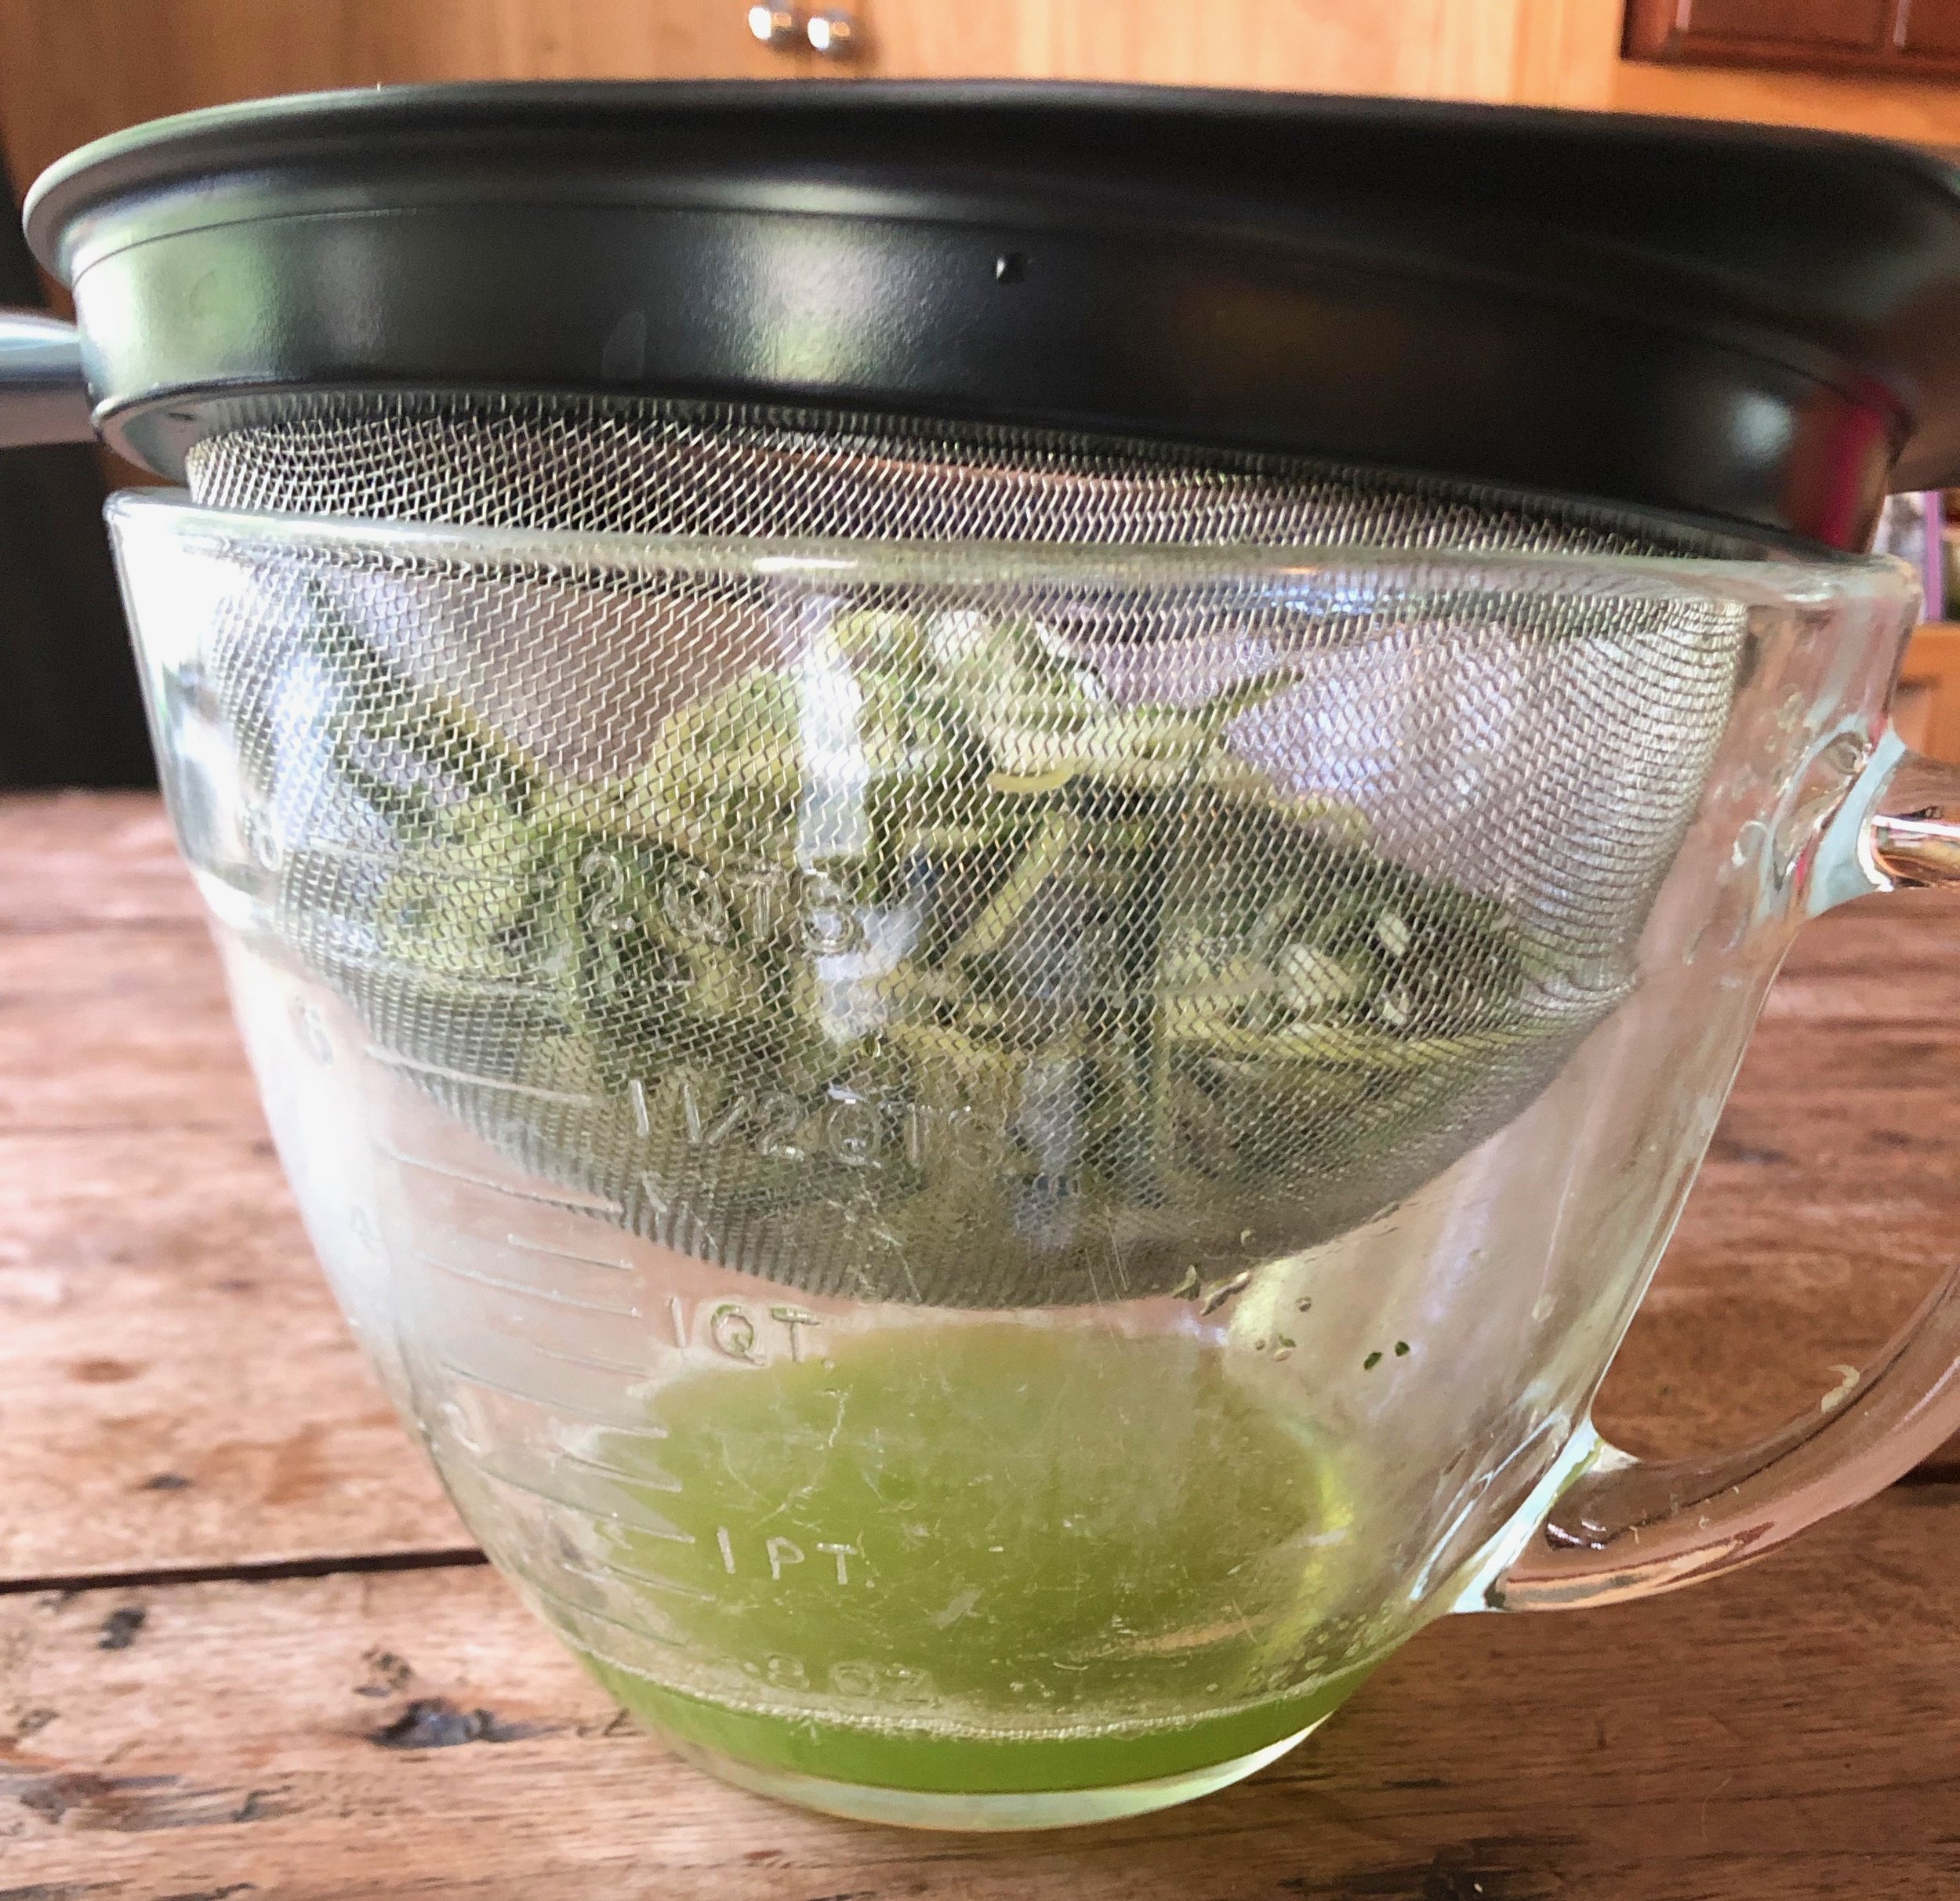
  1. Combine zucchini and salt in a large strainer or colander; toss well to coat. (Don't worry about the amount of salt—much of it drains off with the water.) Strain over the sink or over a bowl for 30 minutes.
  2. Combine carrots, green onions, oregano, oil, lemon juice, and pepper in a large bowl; toss well to combine.
  3. Pat zucchini dry on a double layer of paper towels. Add zucchini to carrot mixture; toss well to combine. Add feta; toss gently to combine.

NOTES:

Calories 124; Fat 9g (sat 3g); Protein 4g; Carb 8g; Fiber2 g; Sugars 5g (added sugars 0g); Sodium 280mg
Created using The Recipes Generator

Matchstick-Cut Zucchini

You can certainly make matchstick-cut zucchini by hand—cutting into very thin planks, then into little matchsticks. Or you can use a mandoline, if you have one. But I love using my julienne peeler for the job. I keep the stem end on the zucchini and use it as a handle, then drag the peeler down the length of the squash. I make a few strokes, until I reach the seedy middle, then rotate the zucchini and start on another side. I find that the seedy middle part doesn’t hold up well for this type of recipe. Don’t throw this core away, though. You can shred it and add to pancake or muffin batter, meatloaf, or burger patties for extra moisture. Or you can chop it up, sauté it, and use it in fried rice, soup, omelets—you name it..

IMG_3067.jpeg

Once I have a pile of long shreds, I cut them in half so the slaw is easier to eat. You could also try this recipe with zoodles (I’d cut them so they’re not so long), or with shredded zucchini.

IMG_3069.jpeg

And I know that you can buy matchstick carrots, but since you already have that julienne peeler out, why not go ahead and cut your own fresh ones? You can nibble on the cores when you’re done.

IMG_3071.jpeg

Straining the Zucchini

This step is super important. If you skip it, I promise you’ll regret it! You’ll end up with a pool of liquid at the bottom of the bowl (ever had that happen with zoodles?). Look at all the liquid that drains off!

IMG_3075.jpeg

My Favorite Way to Use the Leftovers

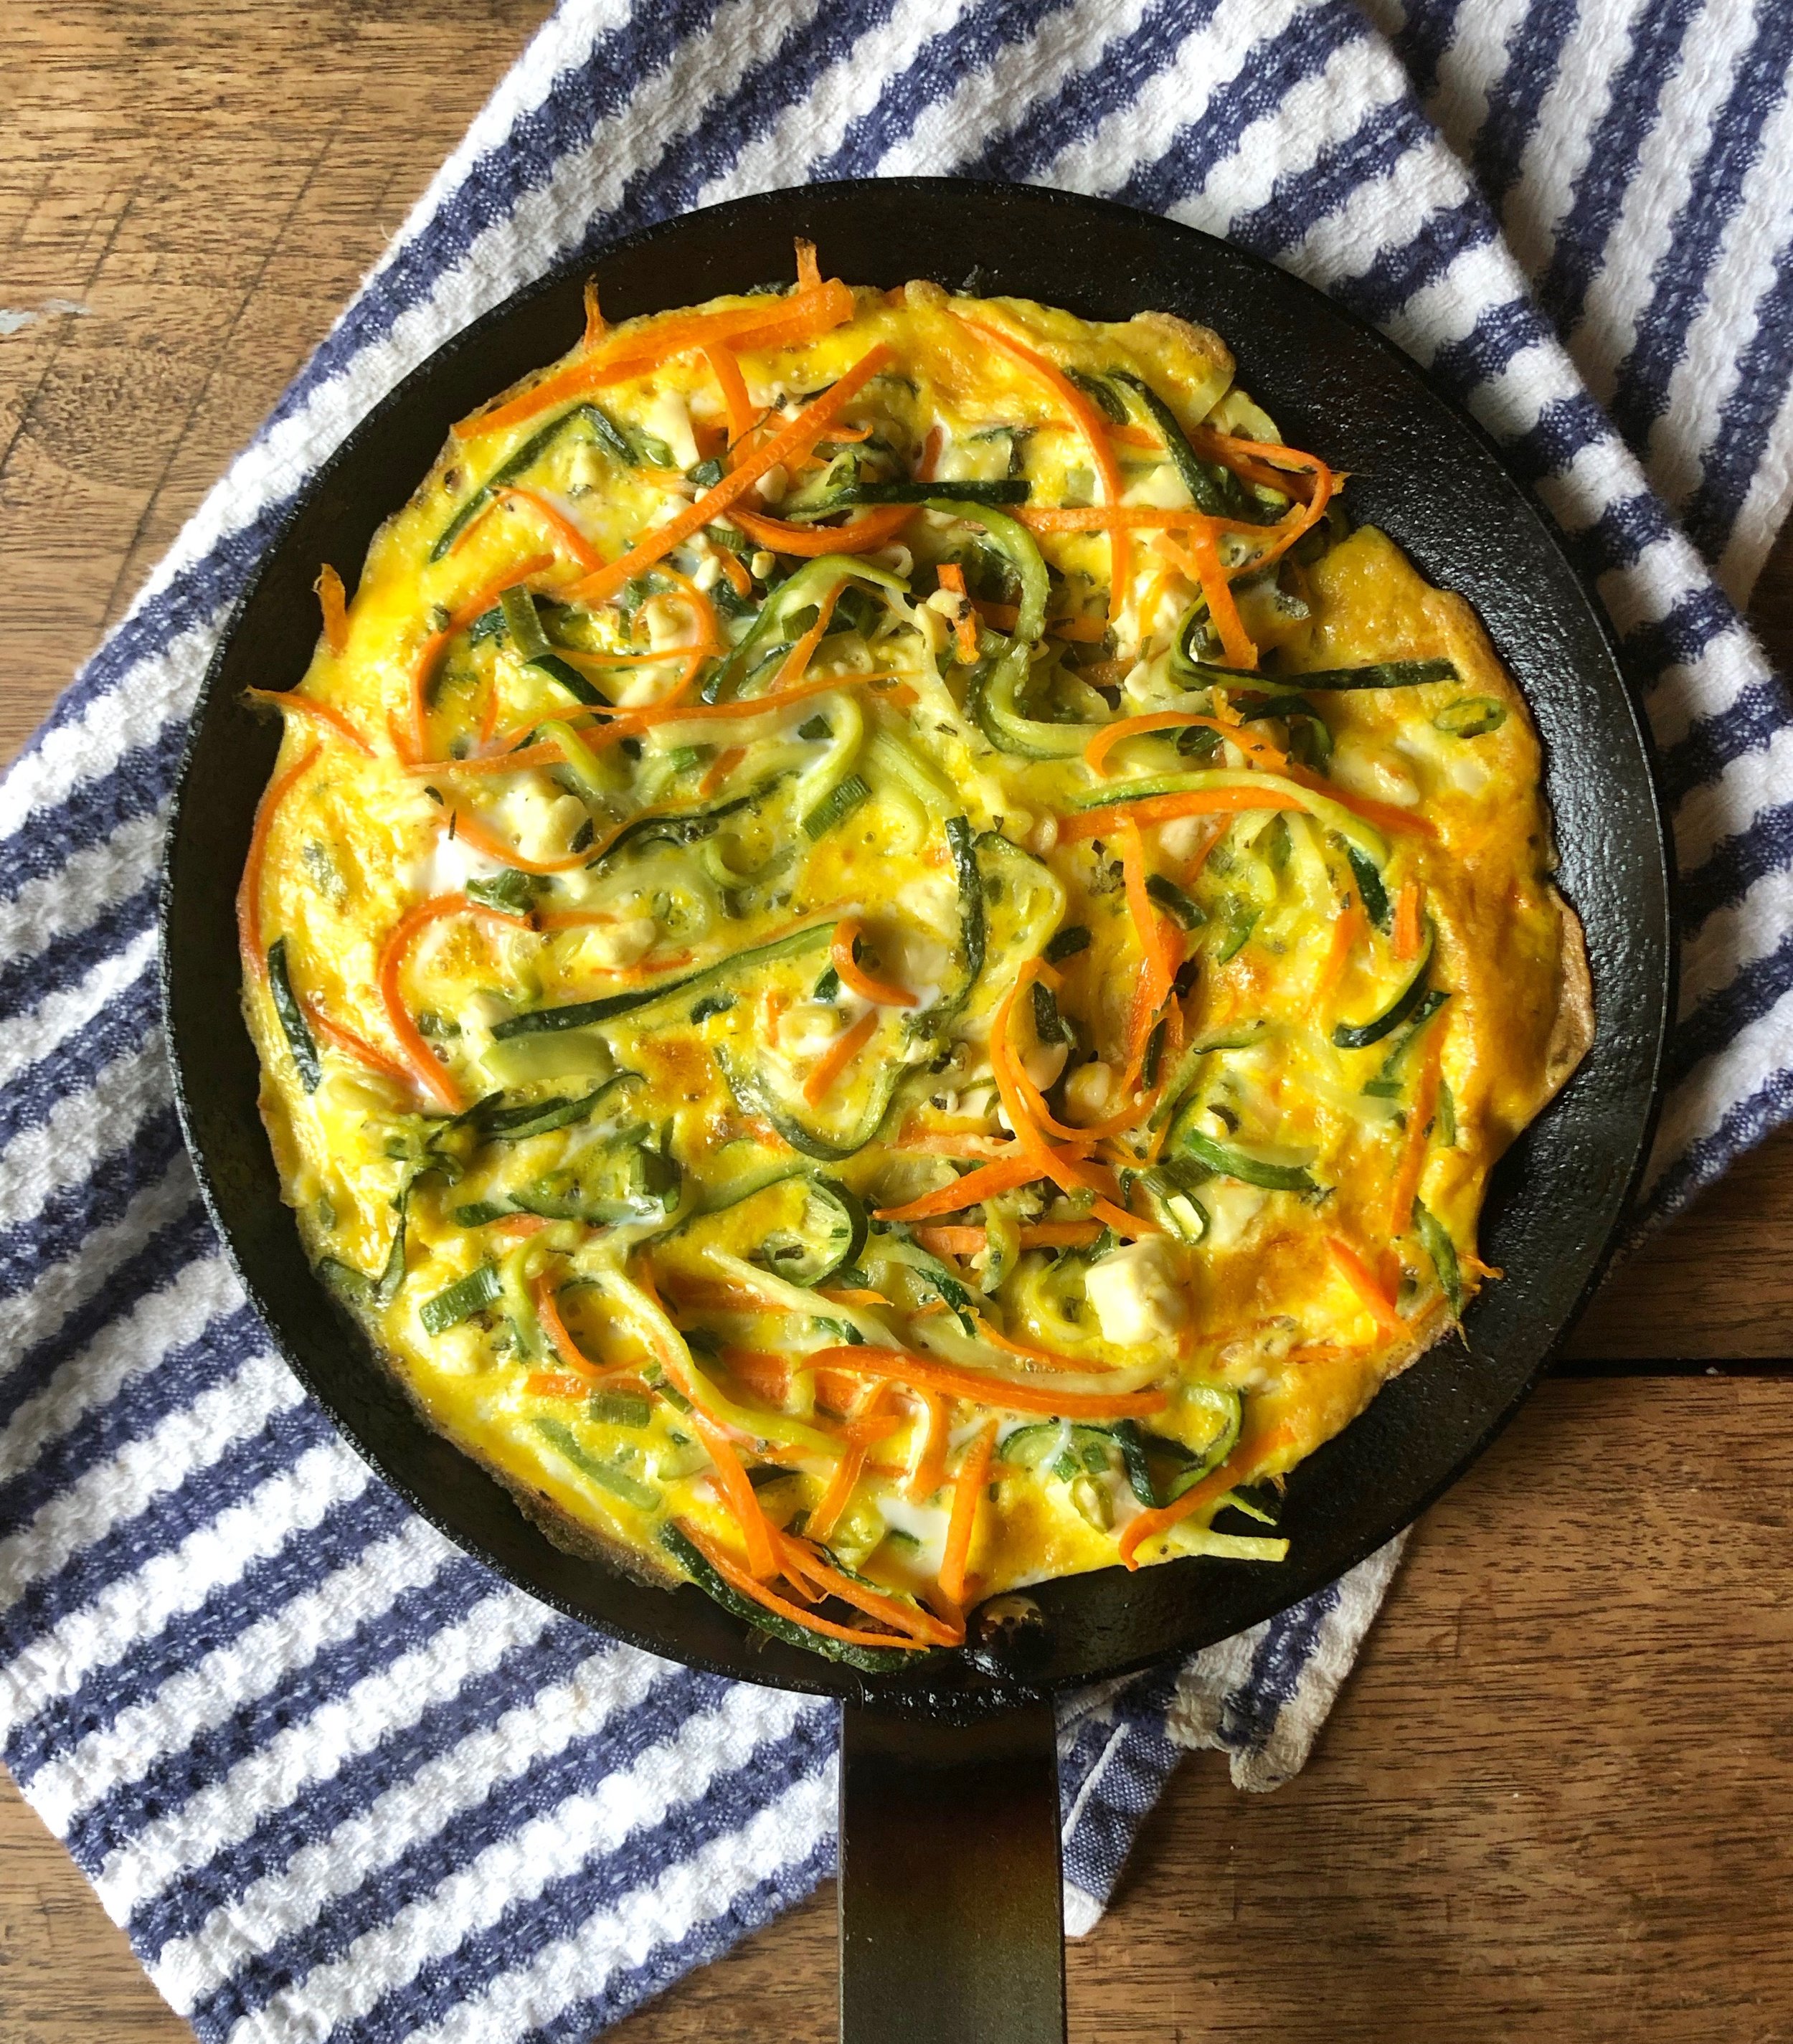
As I mentioned above, I made a double batch and enjoyed leftovers for days. I had them as a simple side dish, piled on a burger (really good), and atop a farro bowl (also very good). But my favorite way to enjoy the leftovers was in an individual frittata! I just warmed some up in my favorite little 8-inch skillet, and then poured two beaten eggs on top. I cooked this stovetop on medium heat for a couple minutes, then finished under the broiler for a couple minutes. So good!!

IMG_3095.jpeg